What it takes…
To become a ToolShed amplifier
The 2Tone base
Every piece begins with the base. Rough lumber is carefully selected to ensure the finished base will be as beautiful as possible. Very few planks will become a ToolShed Amp/Line-Stage.
These planks are then milled into book-matched pairs…… they are surfaced to thickness with an abrasive wide-drum sander instead of the typical planer. This ensures that even wildly-figured boards can be used. We refer to using two pair of disparate species of contrasting woods as our “2Tone” base methodology…… this allows the beautiful joinery to be easily seen and adds to our branding.
Various sized hole-saws are used to create the openings in the front and back boards to allow for fitting the components attached to the front and back plates.
Finger-jointed bases are glued-up. Each base will ultimately have 16 separate pieces of wood used in their construction. The structural rigidity of this joinery makes the typical miter joint (picture frame joint) silly at best. This joint allows the use of solid hardwoods that can still expand and contract with temperature and humidity changes without failure. Designed to last many, many lifetimes.
The protruding “fingers” are removed with a Japanese pull-saw then the base is finished to this point with scrapers, chisels and finish sanded to 150 grit. After the installation of the eight cleats and four glue blocks for the feet the base is then machine sanded to 320 grit. Final sanding, including the “broken-edge” applied to the corners, and all of the sharp edges of the base is accomplished by hand prior to the finishing process.
Here you can see the “broken-edge”, the finishing process consists of several coats (8-22, depending on wood species) of pre-catalyzed lacquer that is cork-block sanded between coats to a final grit of 1200. The base is then waxed and buffed to the finest semi-satin finish. No oil stains or alcohol pigments are ever used…. this is the natural beauty of the wood itself. In the image above, this base has just gotten its 6th coat of lacquer and is waiting to be block sanded… even at this stage it is easy to see the beautiful natural color of the Black Walnut and Curly White Oak.
The plates
Drafting……………… this is what we called it before personal computers were available… Yes, real pencil on paper. Layout and engineering of the fit of the components was achieved in a practical manner. I credit Mr. Krauska, my Freshman year Drafting and Design teacher for screaming “line-width” at the top of his lungs for this skill-set. :)
Enter the 21st Century……….. All of the practical drafting is then drawn in CAD, an old dog has learned new tricks….. and the computer now has to worry about line-width. Next comes the messy part.
Sizing the Aluminum (Copper, Brass and now Bronze) plates on the table saw……. not for the faint of heart, this is an incredibly dangerous operation. Post deburring, the plates are now ready for layout and milling.
In most cases the plates are milled on the three drill-presses in the studio…………
Sawing the cut-out for the IEC power connector.
Layout and milling the proprietary tube-socket ventilation/anti-micro-phony plates. We use 3mm Aluminum for these but Copper or Bronze is also available at additional cost. More mass = less micro-phony.
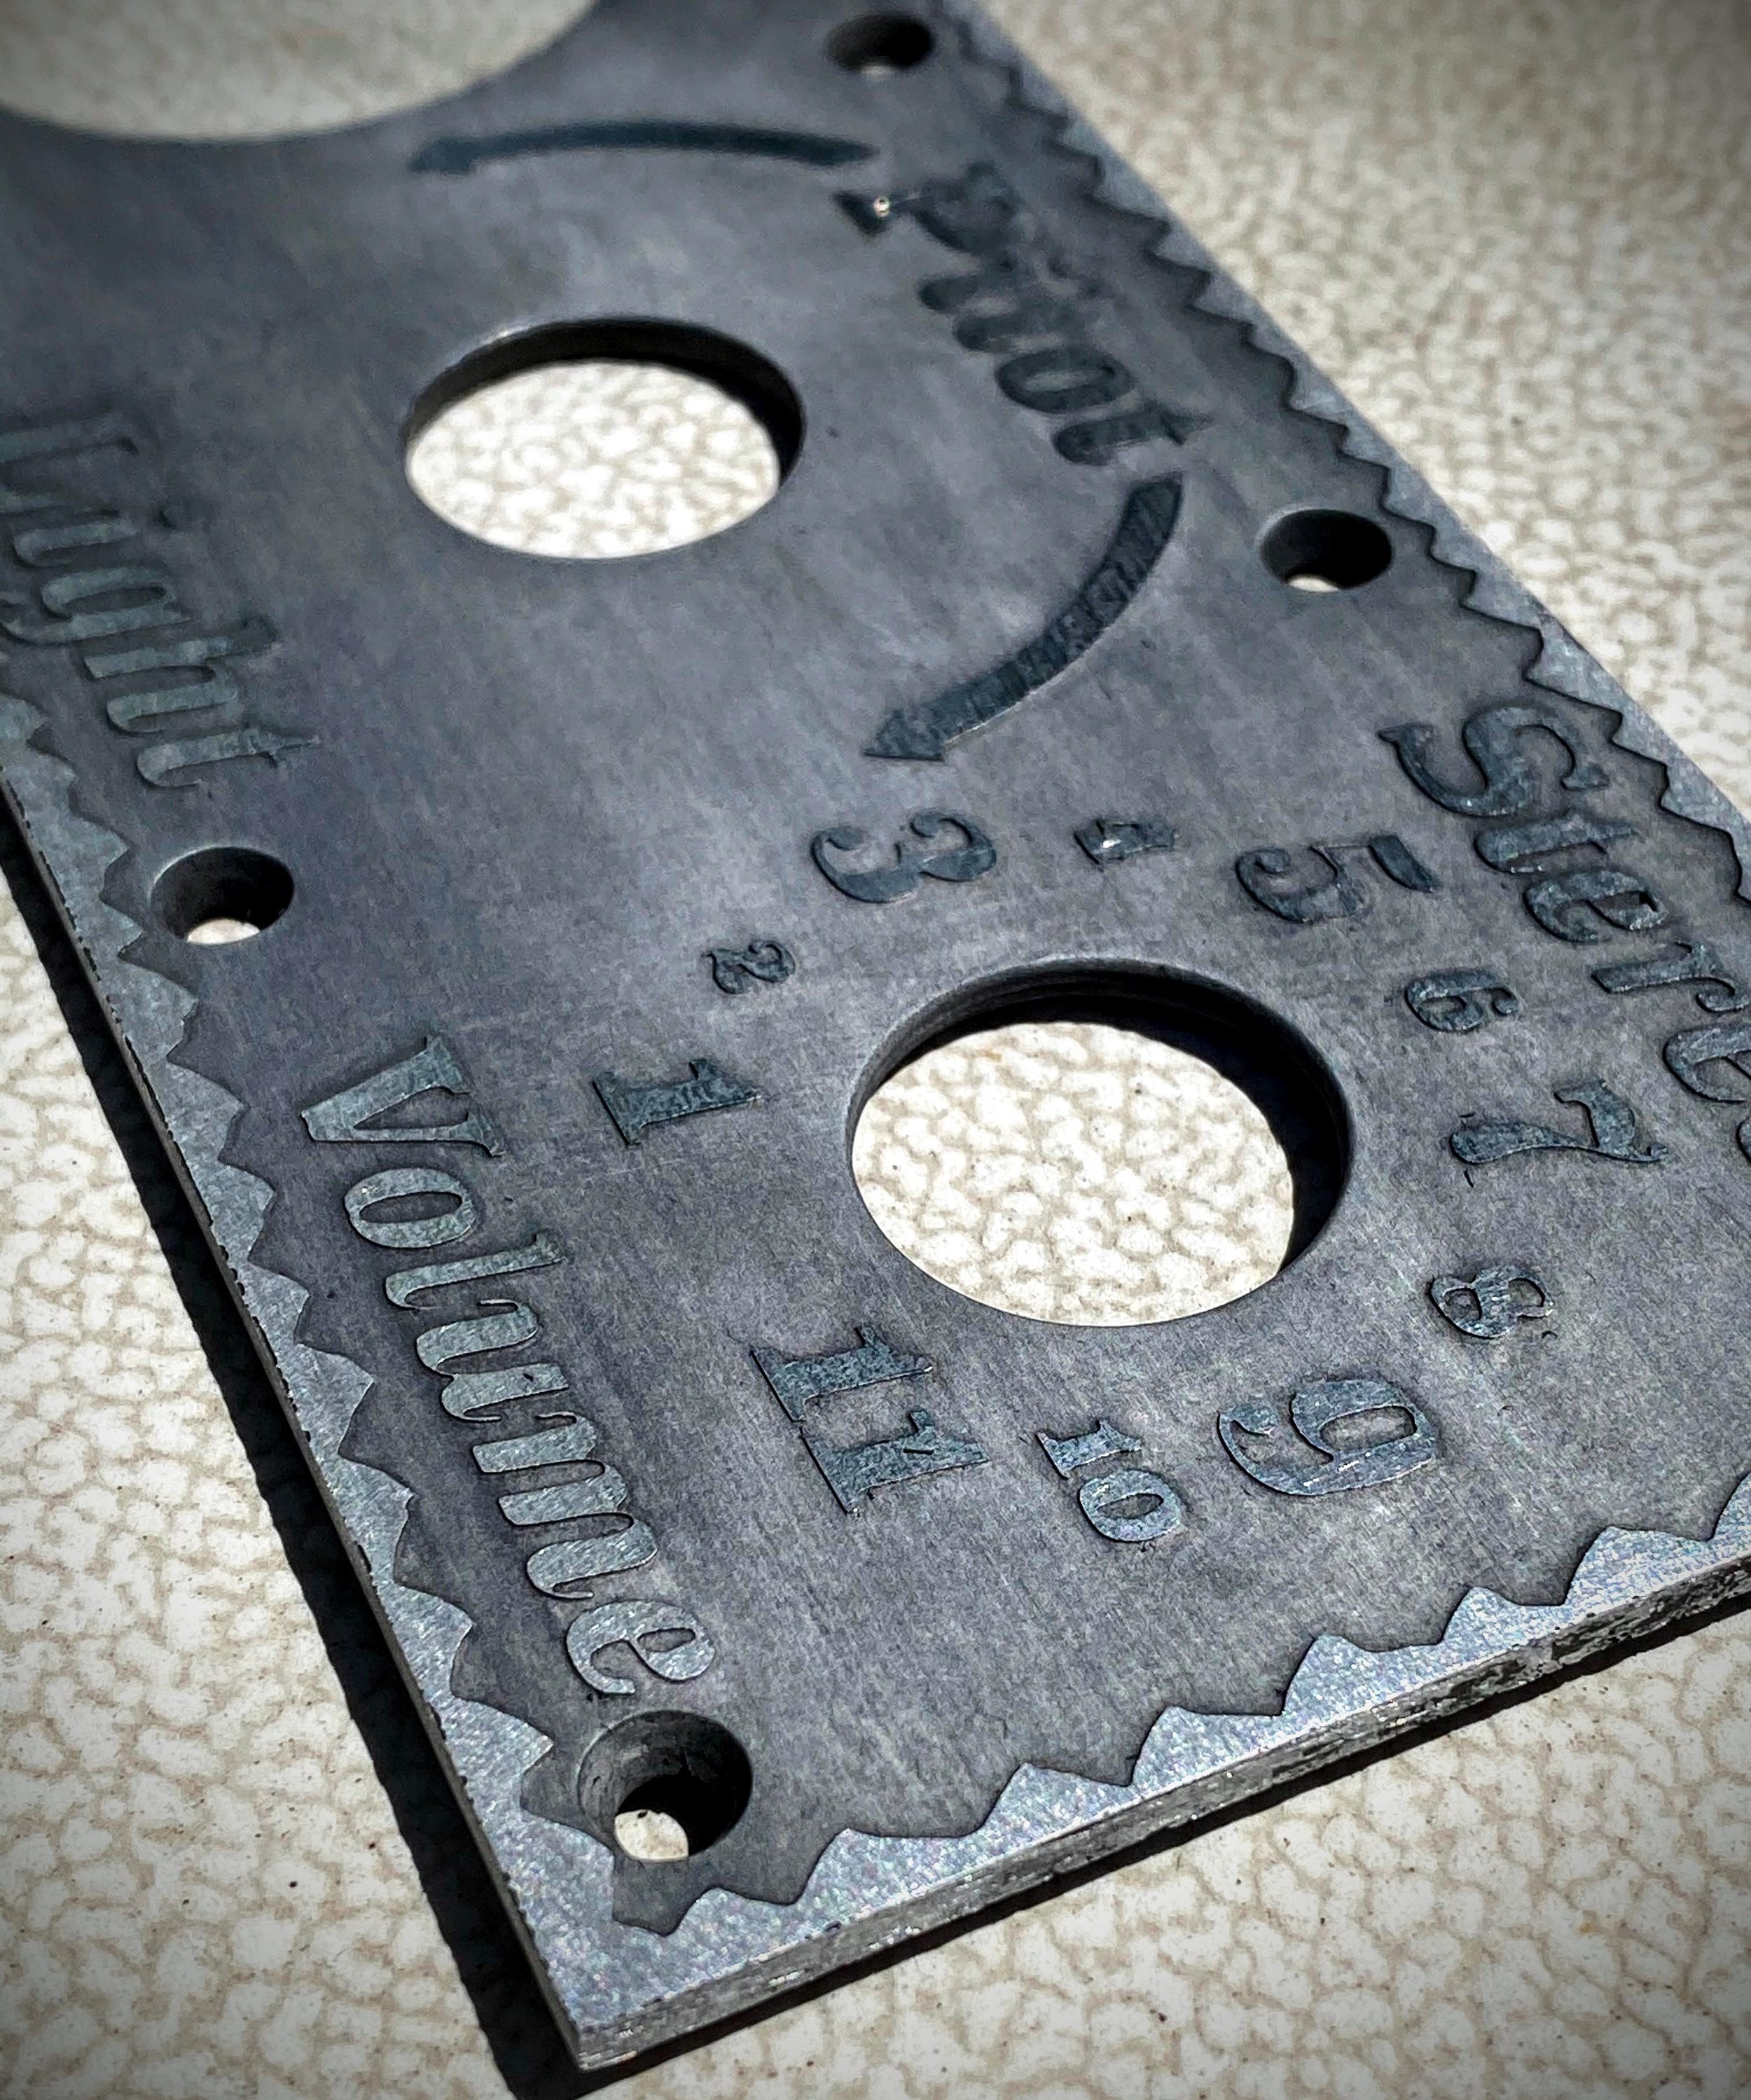
Ready for final sizing and finishing. Extensive post-processing of the plates is necessary to prepare them for the chemical etching stage of the metal fabrication. All of the artwork that appears on the plates is accomplished in-house as well.
Skipping ahead, in an effort to protect our I.P., we’ve left out the actual chemical processes to get to this point. This plate is post-process and is now ready for final polishing.
Polished plates waiting for final cleaning and then off to the clean-room for assembly.


